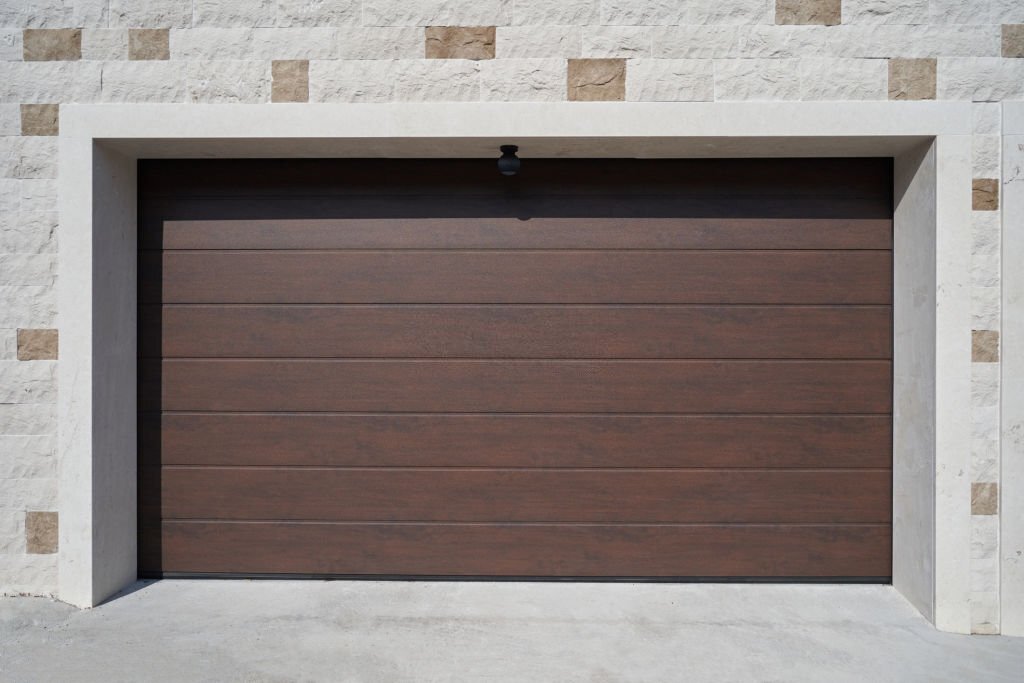
Having a tear in your garage door can be frustrating, but fear not! With a little know-how and the right approach, you can easily tackle this issue and restore your garage door’s functionality. In this beginner’s guide, we’ll walk you through the step-by-step process of fixing a tear in your garage door with active and easy-to-follow instructions. Plus, we’ll introduce you to Metro Garage Services, a trusted name in roller door repairs and garage door service, to ensure you have a reliable resource for your repair needs.
Assessing the Damage
When faced with a tear in your garage door, the first step is to assess the extent of the damage. Is it a minor tear or a larger one that requires professional attention? Start by closely examining the affected area and surrounding regions to get a clear picture of the situation. If you’re unsure or if the damage seems severe, it’s always best to consult the experts at Metro Garage Services for a thorough evaluation.
Gathering the Tools and Materials
Before embarking on your garage door repair journey, make sure you have all the necessary tools and materials at hand. You’ll need items like a cleaning cloth, mild detergent, water, sandpaper (medium grit), a garage door patch kit or steel patch material, a screwdriver, and matching paint. Having these supplies ready will save you time and frustration during the repair process.
Preparing the Surface for Repair
To ensure a successful repair, it’s crucial to prepare the surface around the tear properly. Begin by cleaning the area with a mild detergent and water, removing any debris or dirt that may hinder the adhesion of the patch. A clean surface is the foundation for a long-lasting fix. Once the area is clean, use the medium-grit sandpaper to smooth out the surface and create an ideal base for the patch.
Applying the Patch
Now comes the moment of truth! If you opted for a garage door patch kit, follow the manufacturer’s instructions to apply the patch effectively. The process usually involves placing the adhesive side of the patch over the tear and firmly pressing it onto the surface. Ensure there are no air bubbles trapped beneath the patch for a seamless repair. Alternatively, if you’re using a steel patch material, use a suitable adhesive to secure it in place. Once the patch is firmly in position, give it some time to set before moving on to the next step.
Finishing Touches and Paint
Your tear is now repaired, but the job is not quite complete yet. To blend the repair seamlessly with the rest of the garage door, apply paint that matches the color of your door. This step will not only make the repair discreet but also add a protective layer to the patch. Be sure to use an outdoor paint suitable for the material of your garage door. Once the paint is dry, take a step back, and admire your handiwork!
Expert Assistance from Metro Garage Services
While fixing a minor tear in your garage door can be a rewarding DIY project, some situations demand professional expertise. Metro Garage Services is your go-to partner for roller door repairs and garage door service. With years of experience and a team of skilled technicians, they can handle repairs of all sizes and complexities. Whether you need routine maintenance or major repairs, Metro Garage Services has got you covered!
Fixing a tear in your garage door is not as daunting as it may seem, especially with this beginner’s guide at your disposal. By following the step-by-step instructions and using the right tools, you can successfully restore your garage door’s integrity and functionality. Remember, for more significant repairs or if you’re unsure about tackling the issue yourself, don’t hesitate to reach out to the experts at Metro Garage Services. With their reliable services, you can ensure your garage door remains in top-notch condition, providing security and convenience for years to come. Happy repairing!

